
How to Create a Uniform Drawing Format for Your Diagrams Before Starting Your Library
If you have previously created Visio drawings that have not yet been saved in PQD format, this video will walk you through that process.
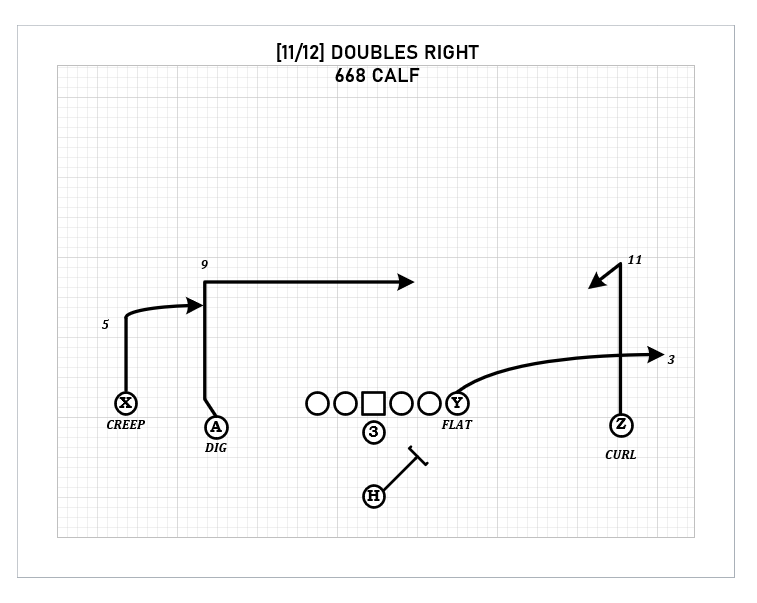
ONE DRAWING = ONE FILE
When converting a previously created playbook you want to transform each drawing as its own individual file.
How to Get Started Building your Play Library
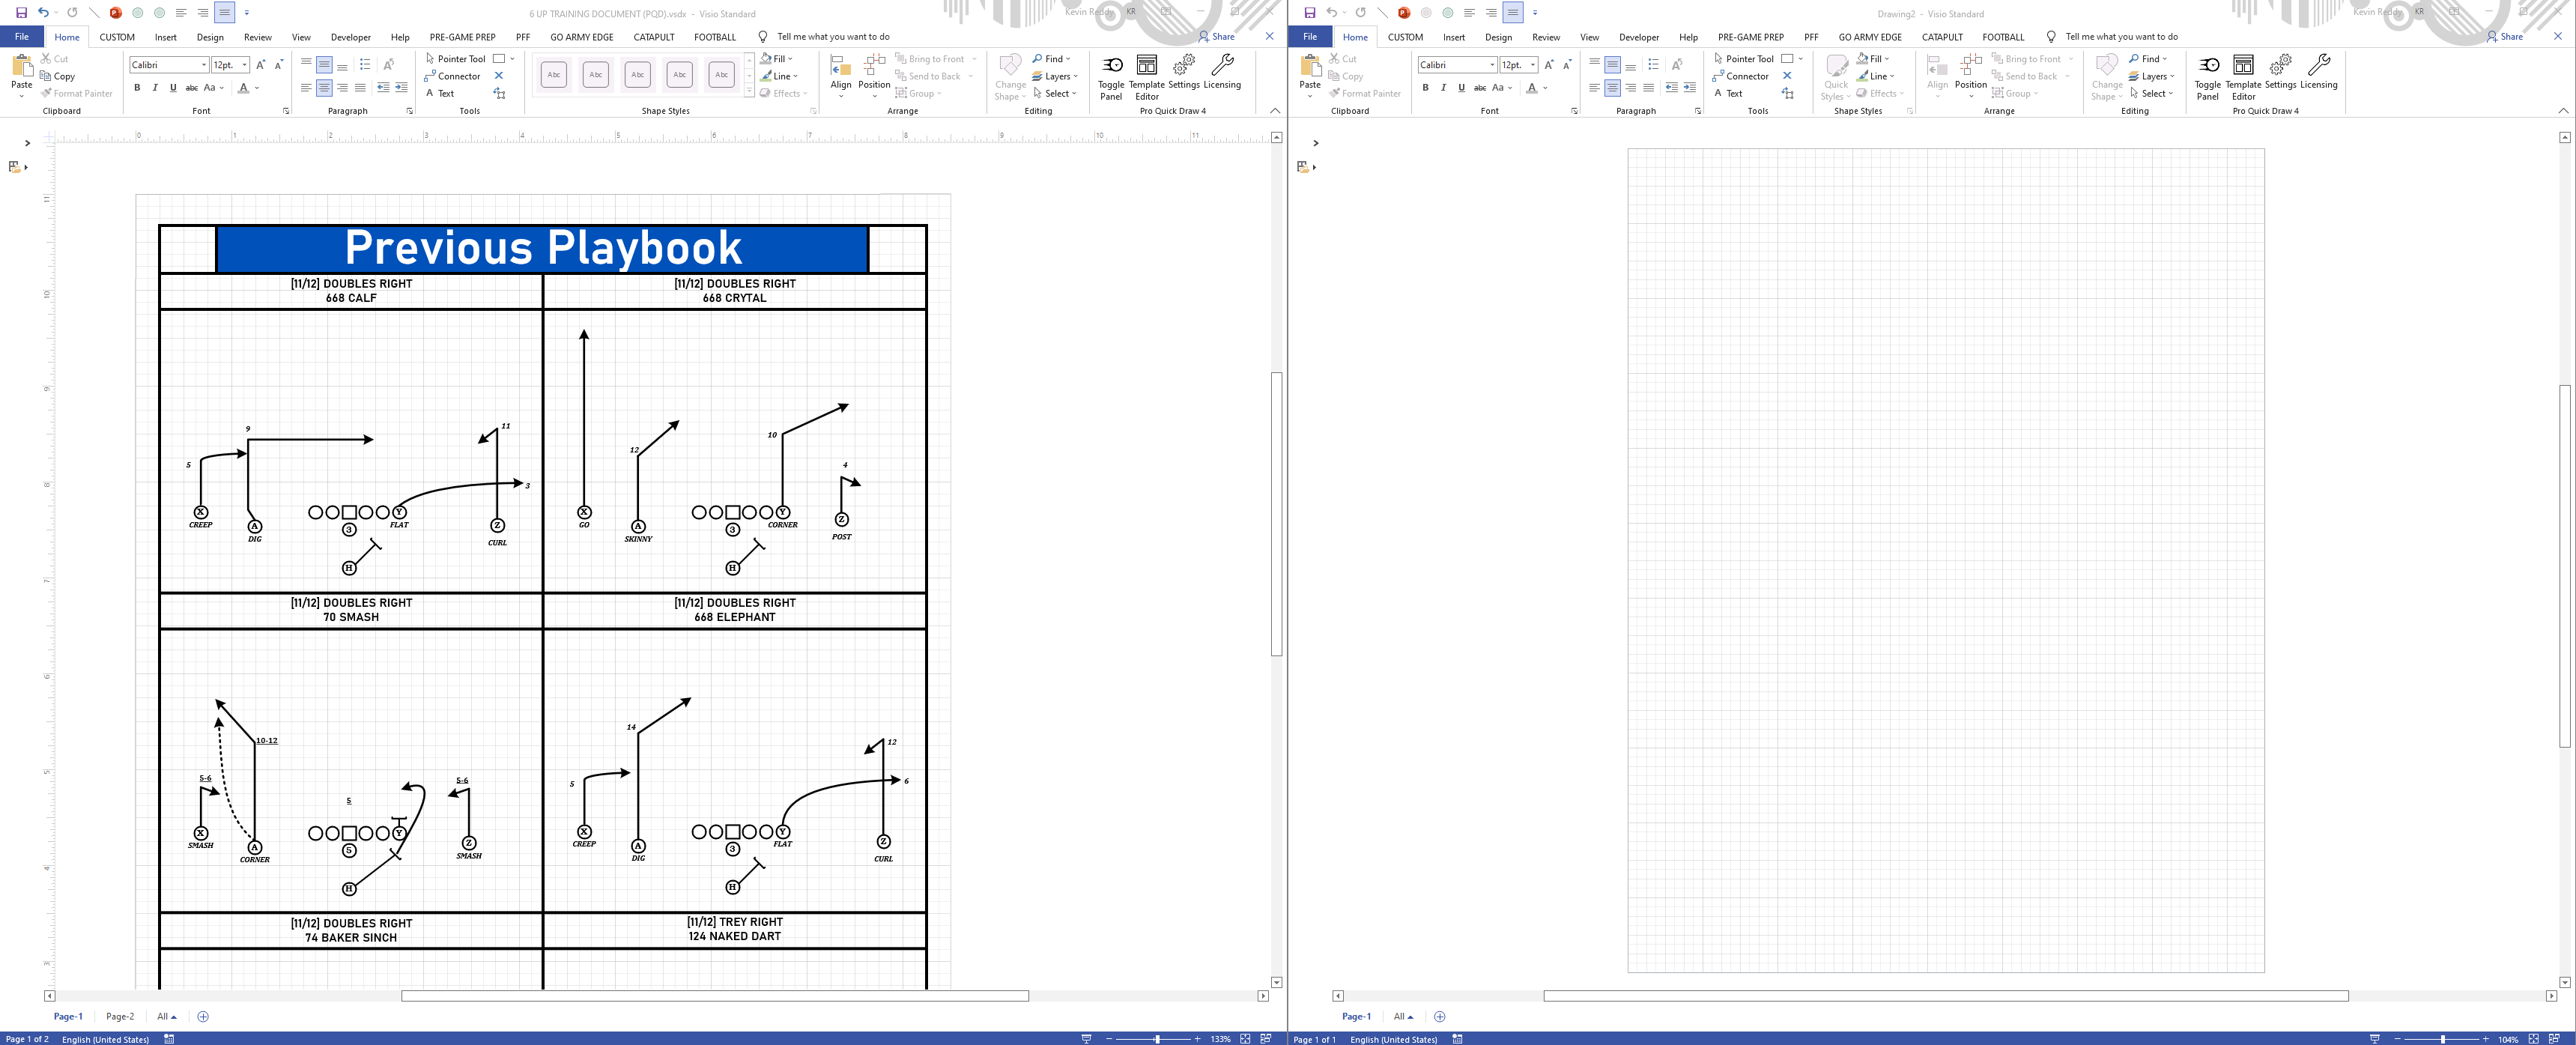
- Open previously created Visio playbook and dock on one side of the screen.
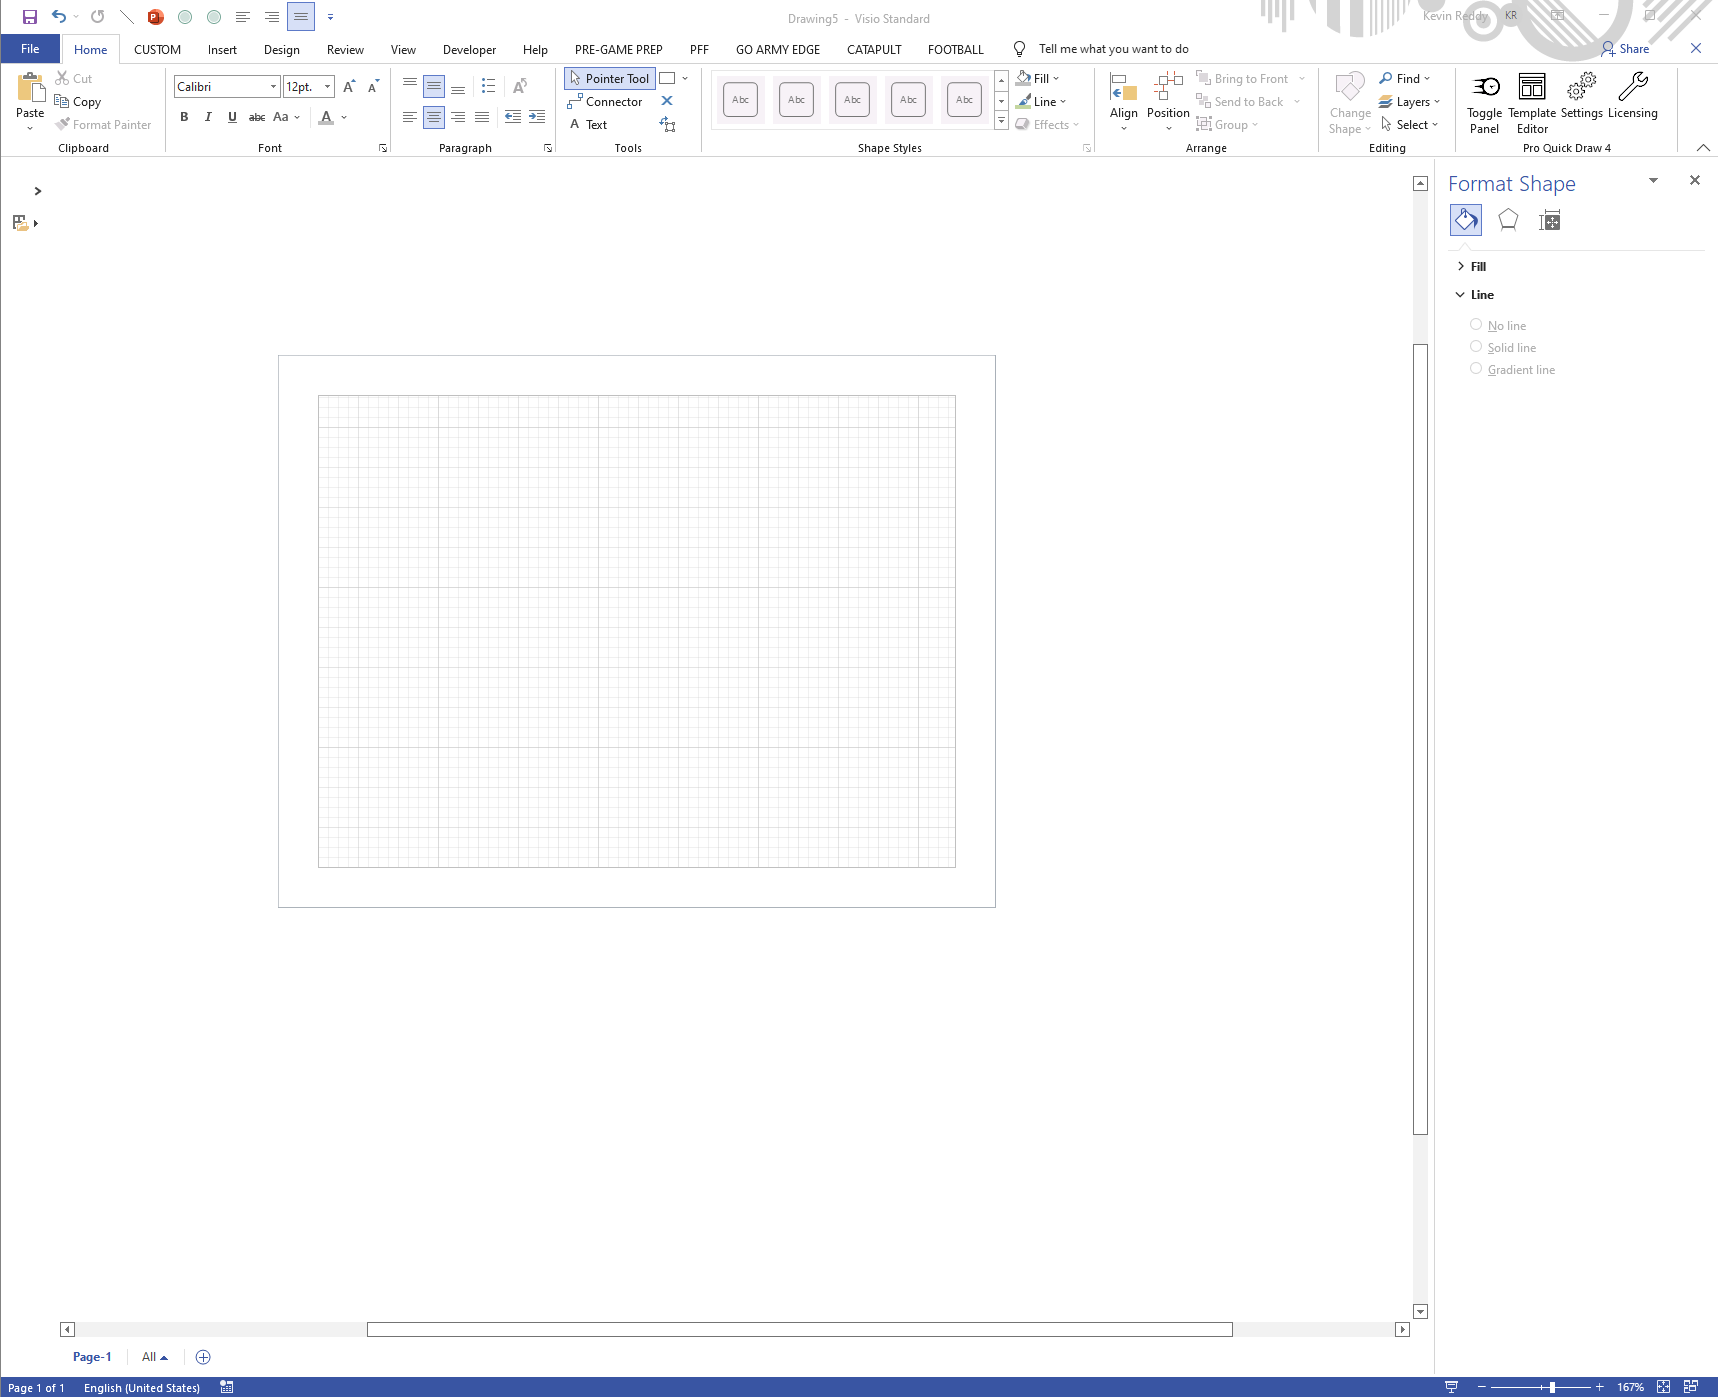
- Go to Start Menu > Visio > Create a New Blank Drawing and dock on the other side of the screen. This is important so you can work between the two documents.
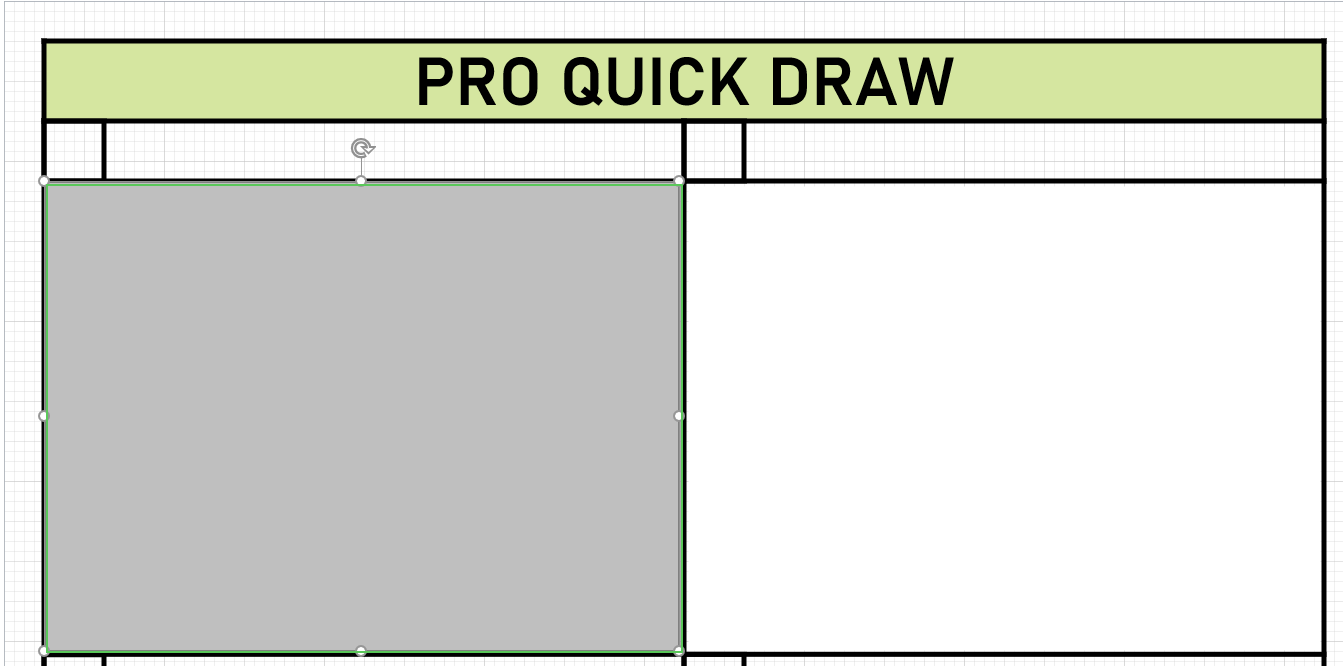
- Turn on the Toggle Panel > Select a template that will be the size of the majority of the plays you will create (ie: 6 Up, 8 Up, 10 Up). This is important to help create a "standard" drawing size.
- On the Home Tab, choose the Rectangle Shape tool and create a rectangle that matches the dimensions of the box in which you will place your play within the selected template. This is represented by the gray box below.
- Cut this rectangular object, delete your template and paste the object back into the drawing.
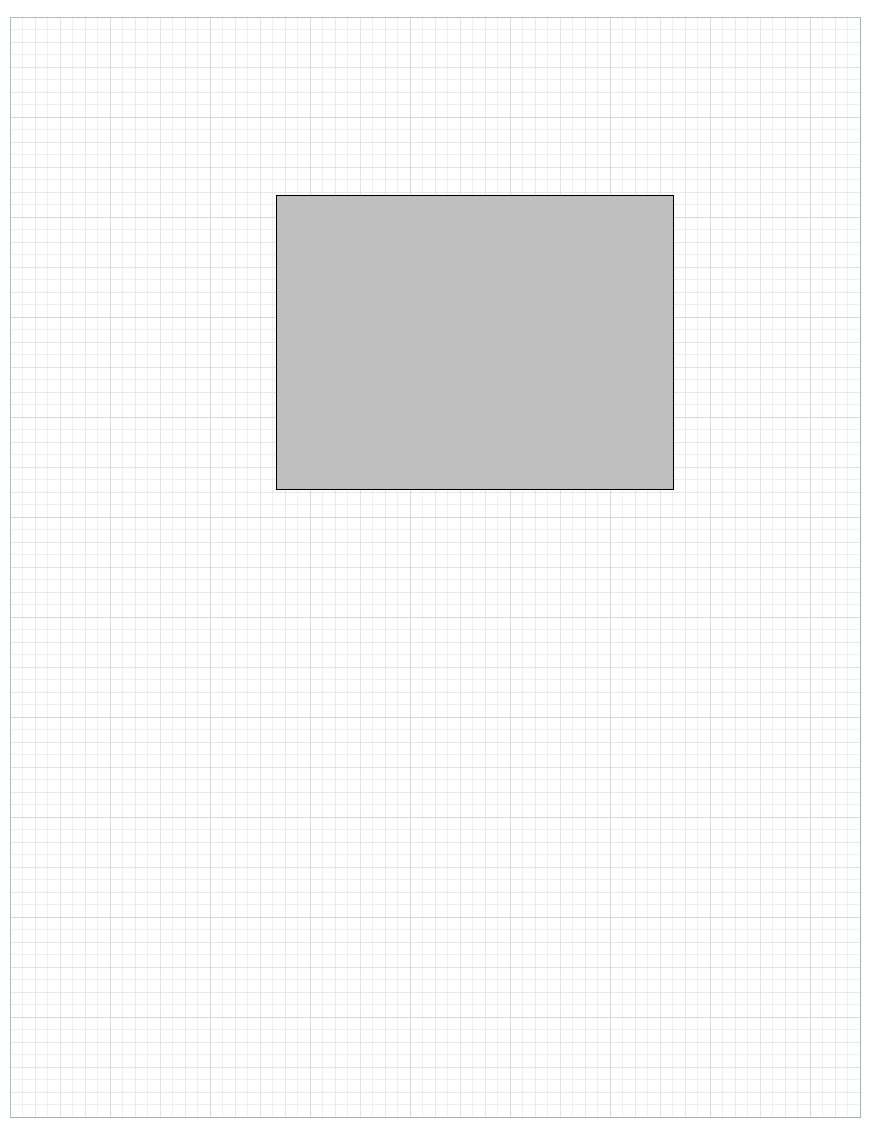
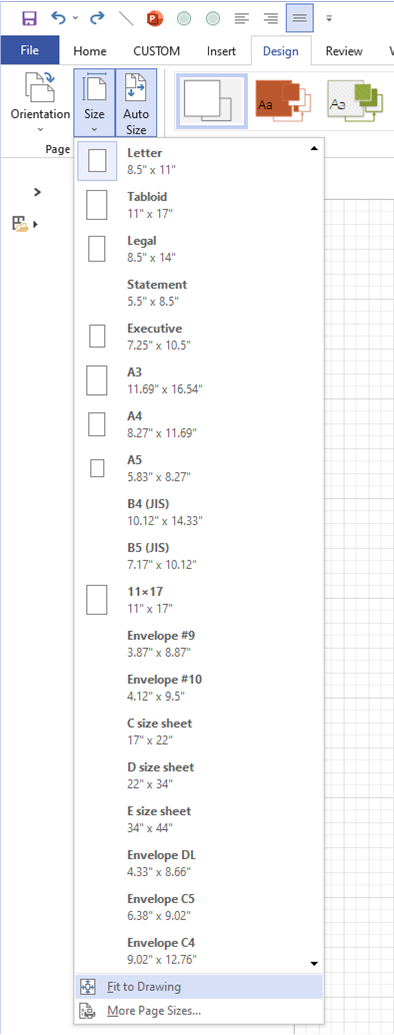
- Go to the Design Tab > Deselect Auto Size > Size button > Fit to Drawing.
- On the Home Tab > Select No Fill > Line > Line Options. Within this menu, Change Line Transparency to 100%

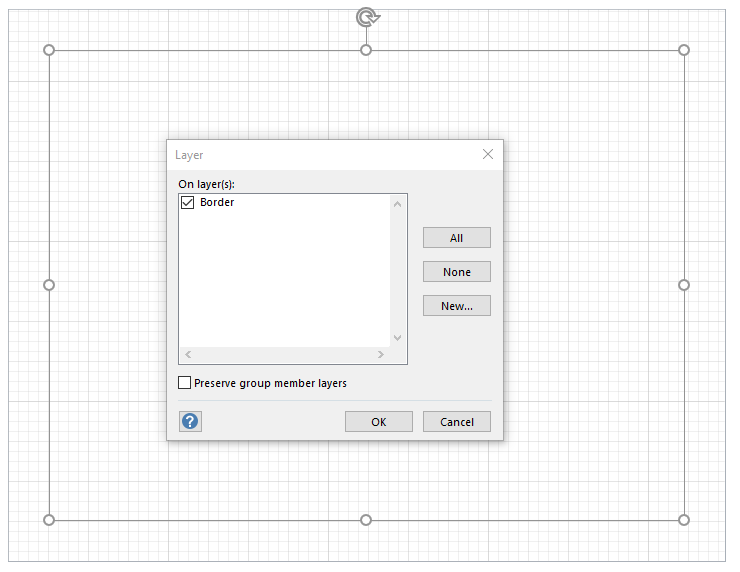
- Keep the box selected, go to the Home Tab > Layers > Assign to Layer. Label it "Border"
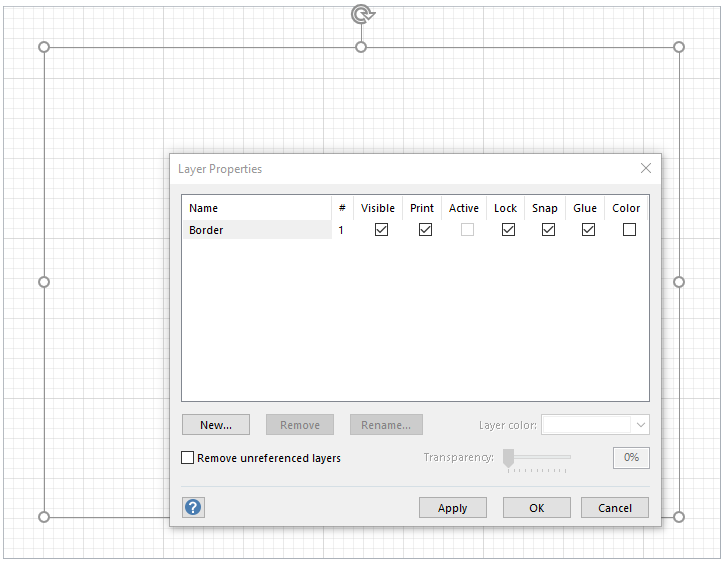
- On the Home Tab > Select Layers > Layer Properties > Lock button > Apply > OK
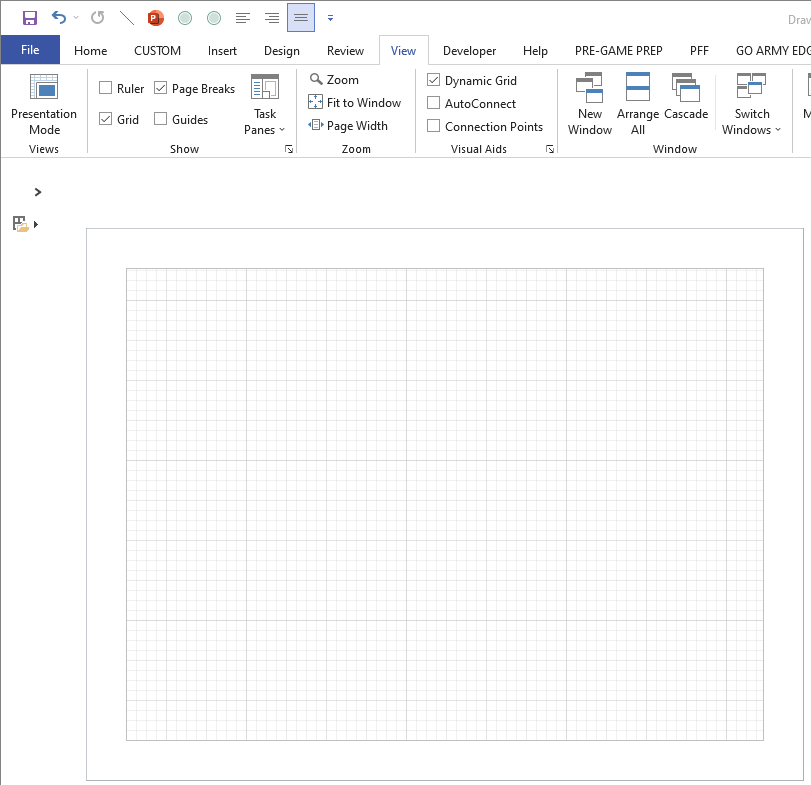
- Select the View Tab and make sure Page Breaks is enabled. All of the objects in your drawing need to be within the grid area. To view the Grid, make sure Grid is enabled.
- Open the window that has your Old Playbook.
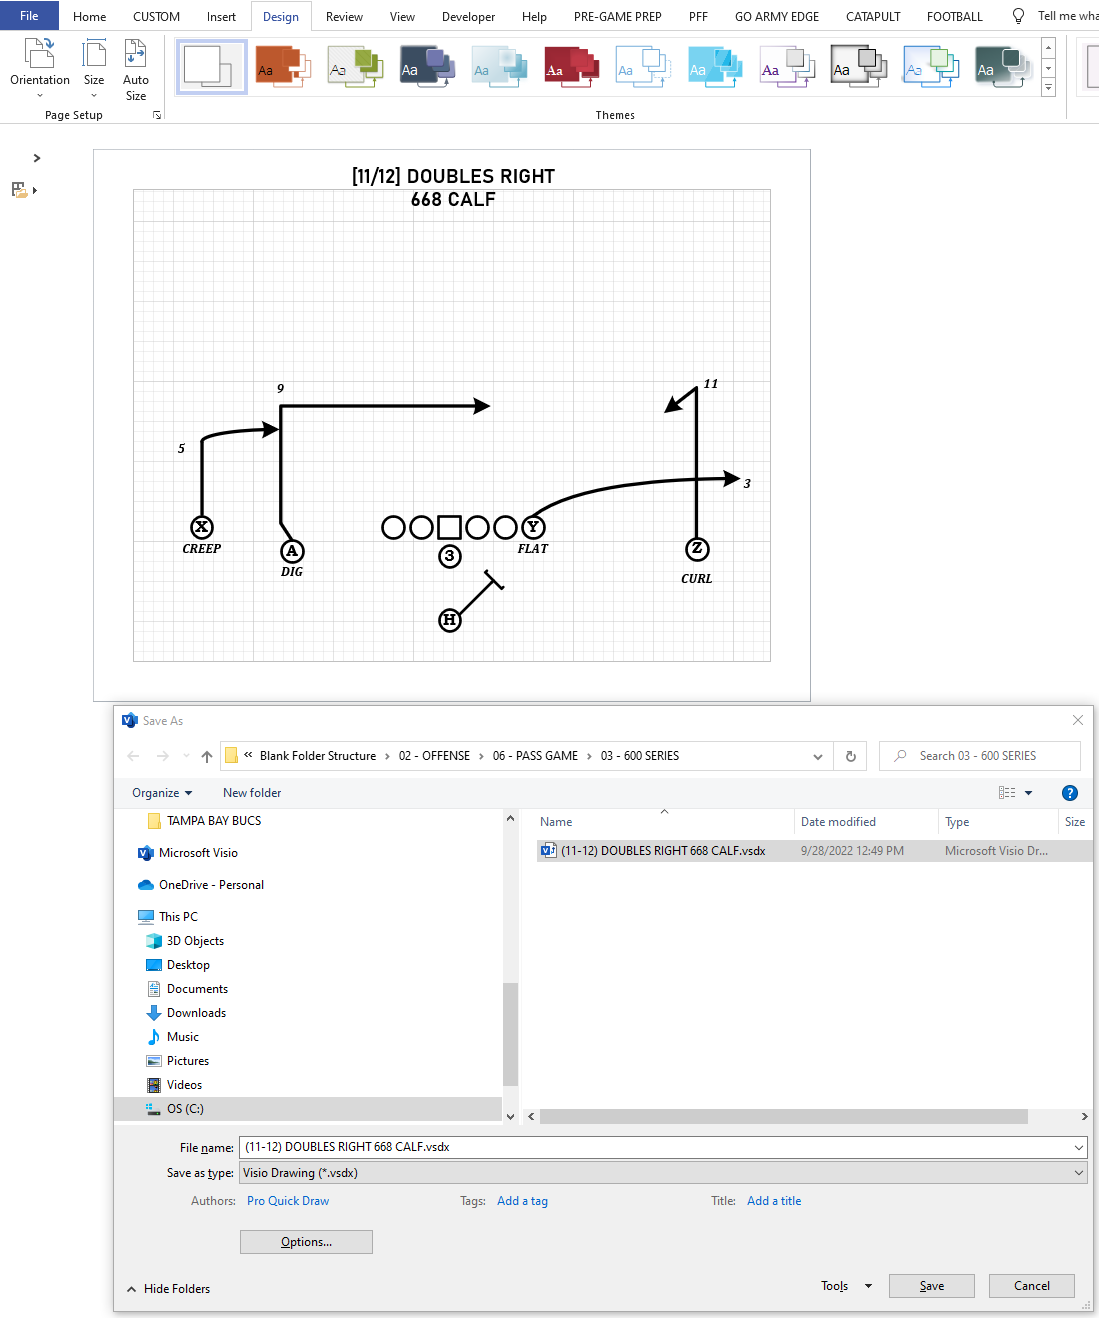
- Copy & Paste one individual play into the blank grid and make fit it into the format
- Go to File > Save As (or shortcut: fn + F12) and save this file to the Master Library.
- After the play has been saved, delete the drawing from the document, go back and copy a drawing and paste in the same blank area.
- Go to File > Save As (or shortcut: fn + F12) and save this file to the Master Library.
- Repeat steps 13-15 until whole playbook is in PQD format.
After completion make sure your Master Library folder is linked to the new correct playbook folder you created (see How to Connect Your Library).