
If you're making the move for the first time to PQD and have files built in PowerPoint, follow these step-by-step instructions to convert your former playbook to PQD format
Convert a Previous Playbook to PQD (PowerPoint)
ONE DRAWING = ONE FILE
When converting a previously created playbook you want to transform each drawing as it's own individual file
The instructions below are to help you create a standard size for all of your drawings with a transparent border.
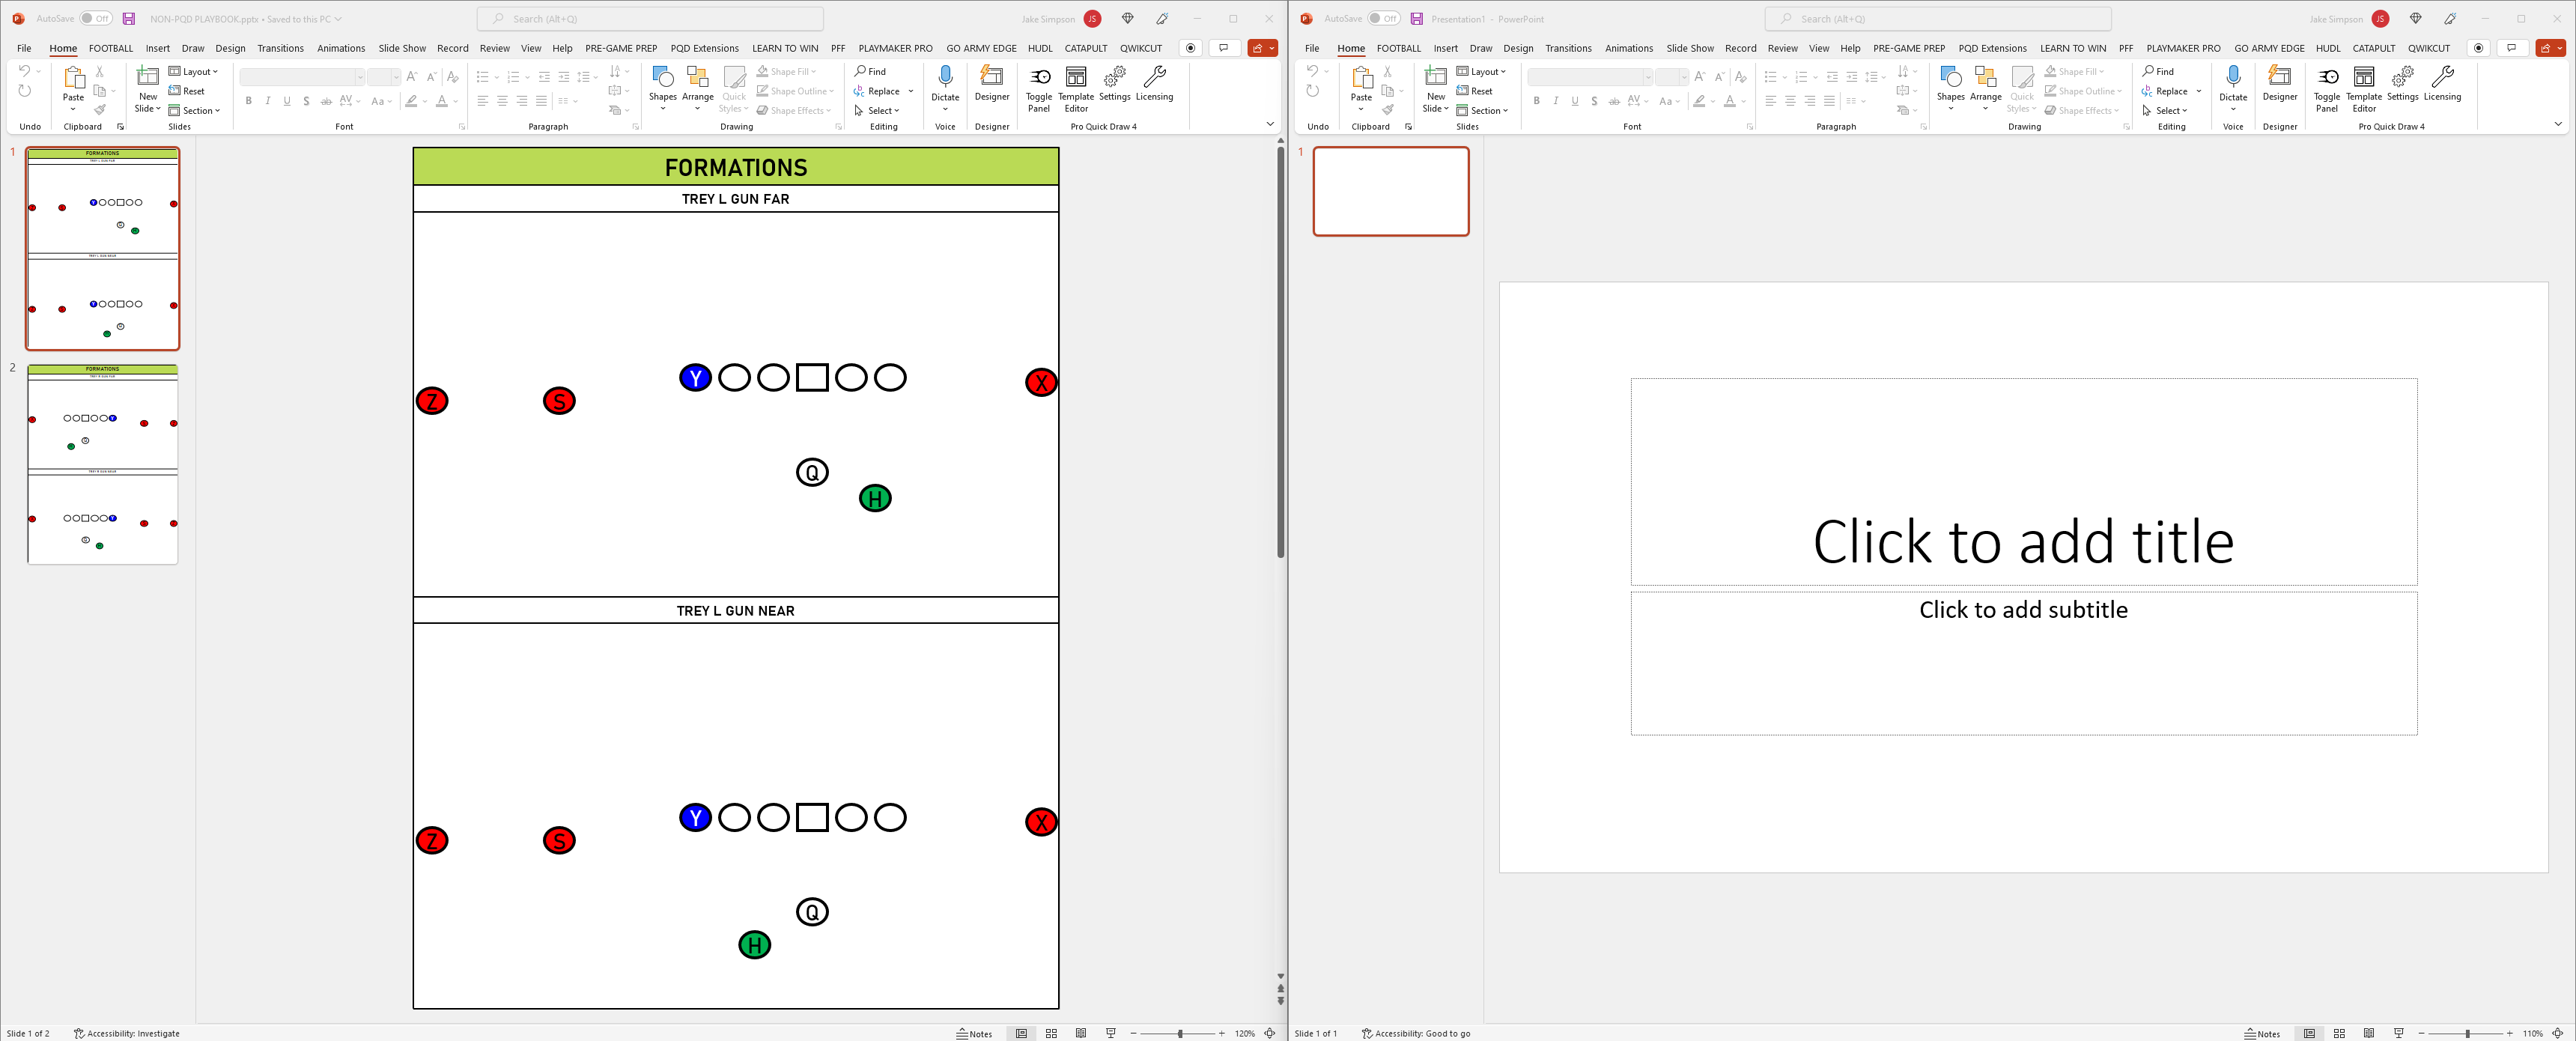
- Open previously created PowerPoint Playbook and dock on one side of the screen.
- Go to Start Menu > PowerPoint > Create a New Presentation and dock on the other side of the screen. This is important so you can work between the two documents.
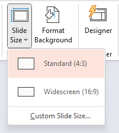
- Delete the text boxes, go to Design tab > Slide Size to choose format.
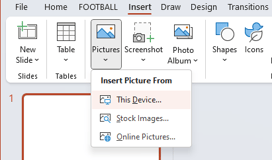
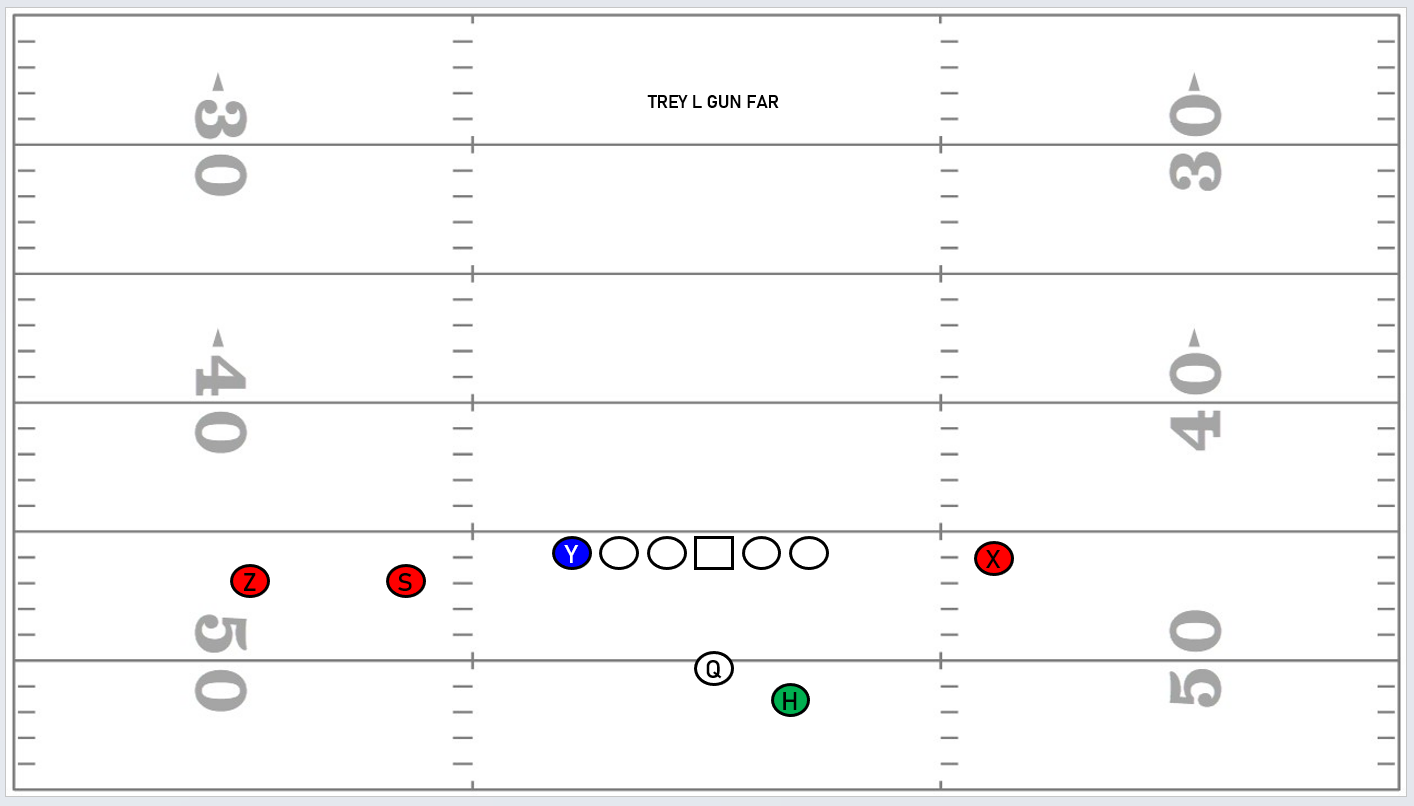
- To input a field background, go to Insert Tab > Pictures > navigate to PQD's PowerPoint Backgrounds to select the one that matches your format and league
- Right click background and select 'Lock' to set image.

- Copy the first play from your old playbook and paste it into this file.
- Go to File > Save as (or shortcut fn + F12) and find 'Blank Folder Structure' to copy + paste it and rename into what you want to call your new playbook.

- Save this first play in the right folder and name it.
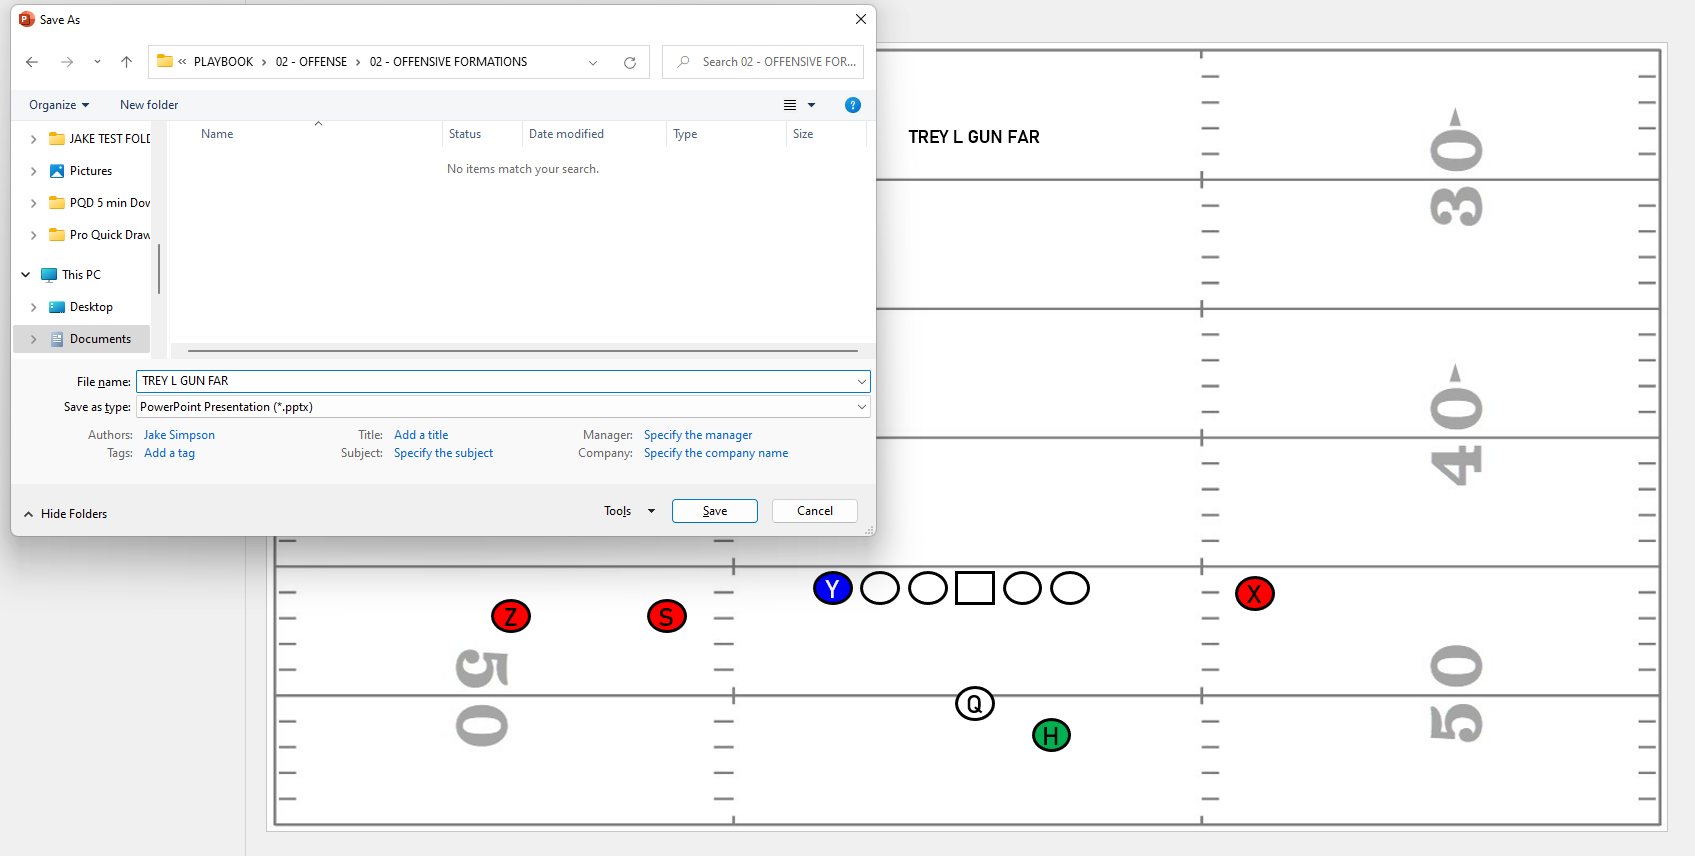
- Delete the previous drawing and copy + paste in the next drawing, and hit shortcut fn + F12 to title and save in the correct folder.
- Repeat (7-9) until your whole playbook is in PQD format.
- After completion make sure your Master Library folder is linked to the new correct playbook folder you created (see How to Connect Your Library) if you have troubles.