After you've downloaded, installed and activated your machine, learn the basics of Pro Quick Draw, set up your folder structure and start building your library.
Step 1: How to Turn on the "Toggle Panel"
- On the Home tab of the Visio ribbon, click the Toggle Panel. This will open the Pro Quick Draw Master Library on the right side of the screen.

⚠️ Not seeing Pro Quick Draw in your Visio ribbon?
Step 2: How to Select a Template
- Click on Select Template drop down on the left side the ribbon.
- Find the template you wish to use and click on it.
- To the right of the selected template, click Add if you want to add a new page or Update to replace the template you are currently using or have selected.
Step 3: How to add a Drawing into your Template
When you add a drawing into a template, Pro Quick Draw automatically adjusts the drawing to match the dimensions of the drawing area.
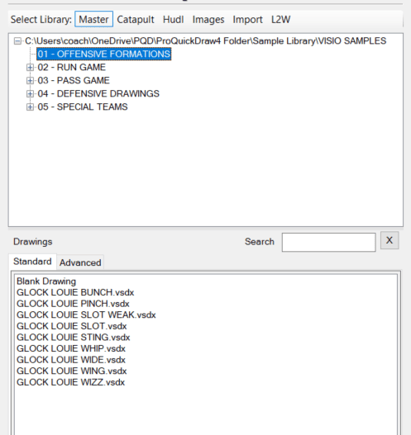
- Navigate to your Master Library Menu on the right side of the screen.
- Find your drawing within the folder structure, click on it and select the Add Button at the bottom on library (double-click file to also add).
Step 4: How to Edit Drawing
![]()
- Select the drawing inside the template with a single-click.
- Click the Edit button inside the Pro Quick Draw tab.
- This will open the drawing and allow you to modify the diagram.
- Save and close the drawing.
- The drawing will update in the template and be updated in your Master Library for future use.
Step 5: How to create a new drawing using the Save As button
You can rename and create a new drawing based on an existing one from your library. To do this, locate the drawing you wish to use as a foundation by selecting it from the Master Library Menu.

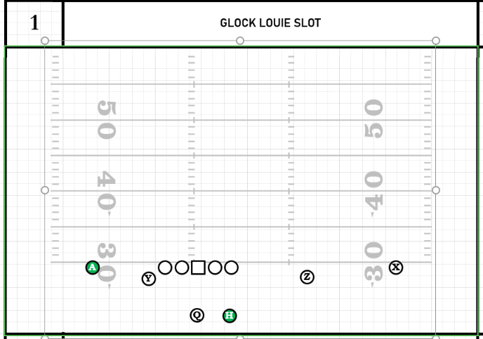
Add the drawing to the template by clicking Add or double-clicking on the file.![]()
Select the drawing by clicking any object inside the drawing.
Note: The drawing is properly selected when a green border surrounds it.

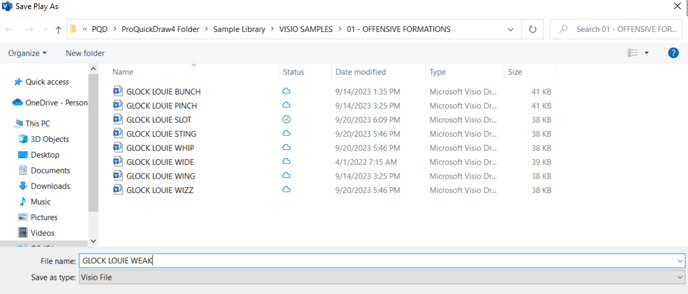
Navigate to the top Pro Quick Draw Toolbar and select the Save As Button.
Enter a name for the new file you wish to create, ensuring it is saved in the appropriate folder.
Press Save and build the drawing![]()
Exit out of the file by clicking the bottom close button (X) in the top right hand corner and Save Your Changes

Note: By selecting the bottom X it only closes current window you're in. If you choose the X at the top that will close all Visio windows.
The selected drawing has now been updated within the template and successfully added to your Master Library in the designated folder where it was saved.

Next Steps: How to Get Started Building your Play Library (Visio)
