
After you've downloaded, installed and registered your machine, it's time to begin to learn the basics of Pro Quick Draw, setting up your folder structure and start building your library.
Pro Quick Draw must be properly downloaded, installed and licensed. Ensure you have followed these steps before moving on.
Step 1: Turn on Pro Quick Draw - Toggle Panel
- On the Home tab of the PowerPoint ribbon, click the Toggle Panel. This will open the Pro Quick Draw Master Library on the right side of the screen.
⚠️ Not seeing Pro Quick Draw in your PowerPoint ribbon?
Step 2: Select a Template
- Click on Select Template drop down on the left side of the ribbon.
- Find the template you wish to use and click on it.
- To the right of the selected template, click Add if you want to add a new slide or Update to replace the slide you currently have selected.
Step 3: Insert a Drawing into your Template
When you add a drawing to a template Pro Quick Draw will format the drawing to fit the size of the drawing area.
- Navigate to your Master Library Menu on the right side of the screen.
- Find your drawing within the folder structure, click on it and select the Add Button at the bottom of the Library.
Tip: Alternatively, you can double click the drawing to insert it into your template
Step 4: How to Edit a Drawing
You can edit your drawings through Pro Quick Draw using the Edit Button within the template
![]()
- Select the drawing inside the template by single clicking
- Click the Edit Button inside the Pro Quick Draw tab.
- This will open the drawing and allow you to modify the diagram.
- Save and close the drawing.
- The drawing will update in the template and be updated in your Master Library for future use
Step 5: How to create a new drawing using the Save As button
You can re-title and build a new drawing off of one you've already created in your library.
- Navigate to the drawing you want to build your new drawing off of, by selecting it in the Master Library Menu

- Add the drawing to the template by clicking Add or double clicking on the file

- Select the drawing by clicking inside the box; it is properly selected when a line border surrounds the drawing

- Navigate to the top Pro Quick Draw Toolbar and select the Save As Button

- Title the file you are wanting to build and make sure it's in the correct folder.
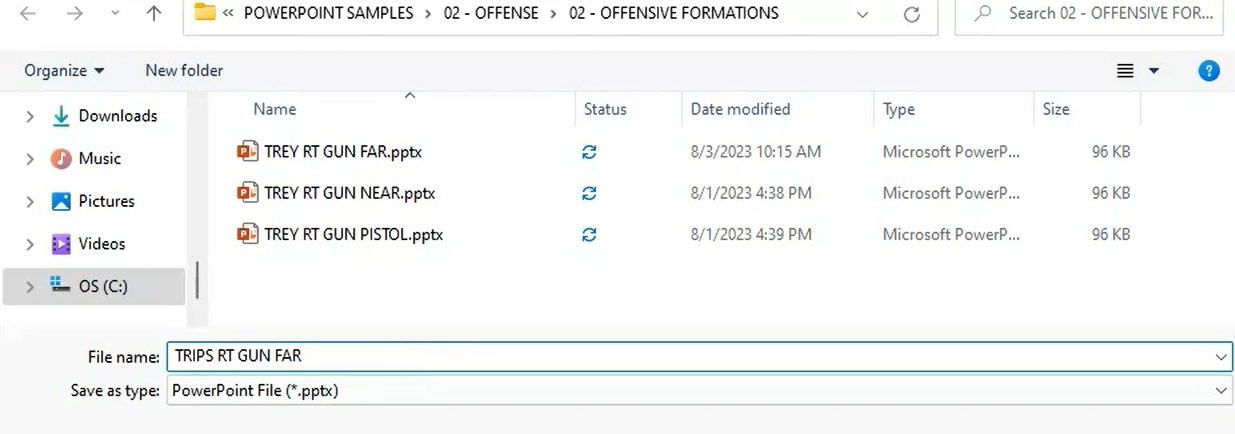
- Press Save to then go into the Drawing you created and build it.

- Exit out of the file by clicking the top right "X", and Save Your Changes

The drawing you selected is now updated within the template and it has been added to your Master Library in the folder you saved it in.

Understanding how to use the Edit and Save As button are two critical processes to building your library in Pro Quick Draw.