
The Play Editor enables you to create custom drawing stencils, allowing you to effectively store and organize specific elements for easy addition or replacement in your Library Drawings collection.
How to Assemble Your Drawing
In the PowerPoint application, begin by opening a new Blank Presentation.
On the Home Tab, select the Play Editor button in the top right.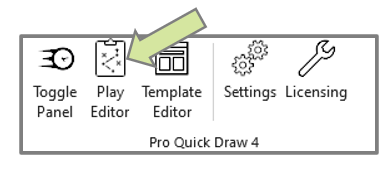
Go to the Drawings tab and locate the Field Backgrounds file.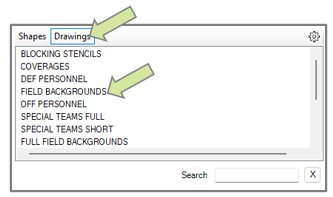
Select the Background you would like to use.
----------------
Next, it's time to add your Drawing Stencils from your Library.
In the Drawings Tab, find the Drawing Stencil you wish to use (e.g., Personnel, Formation, Defense, etc.) and add it to the field by either clicking the Add button or double-clicking on the stencil.
Beneath the drawing, you'll find a notes section where you can edit the text to rename the drawing as needed.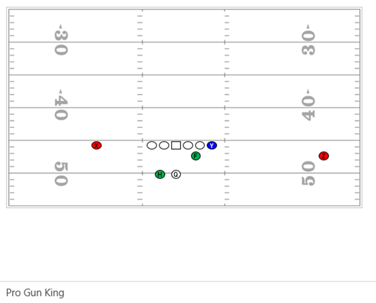
Note: The Play Editor Drawing files allow for multiple slides to be included within a single PowerPoint presentation. This differs from the Master Library, where each play is limited to a single slide.
Go to the Home Tab, select New Slide and repeat process above for as many stencils you need to add.
Saving the file on your computer
Save your file to the Documents\ProQuickDraw4\Libraries\Drawings folder
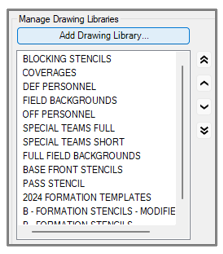
Import your new drawings file to your Play Editor Settings by hitting the gear icon in the top right of the play editor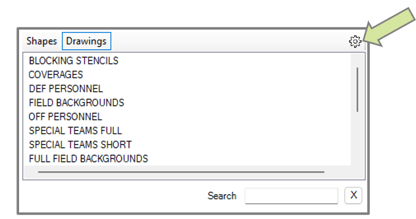
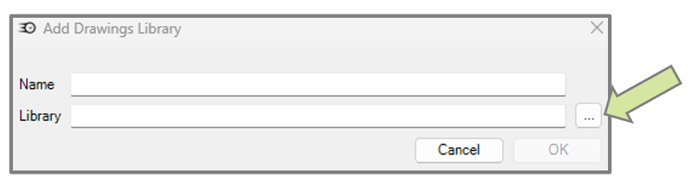
- Hitting Add Drawing Library and the three dots next to the Library menu that pops up
Starting from your PQD Library (Merge Button)
-
- Open a New Blank PowerPoint Presentation
- Turn on Toggle Panel
- Select the Merge Files button at the top
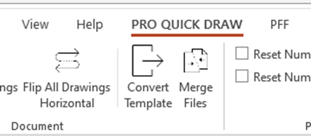
- Hit Select Files and choose the files you want to add, such as Formations from your PQD Library
- Check the button “Play Editor Drawing Library” as this will name each slide in the notes from the File Name of each play

- Click Merge
- Delete slide 1 that is the blank slide
- Save your file to the Documents\ProQuickDraw4\Libraries\Drawings folder
- Import your new drawings file to your Play Editor Settings by hitting the gear icon in the top right of the play editor
- Hitting Add Drawing Library and the three dots next to the Library menu that pops up